Install & Configure VS Code With C Compiler
What is an IDE?
IDE stands for Integrated development environment. It is nothing more than an enhanced version of a text editor that helps you write more efficient and nicer code. It helps to differentiate different parts of your codes with different colors and notifying you if you are missing some semicolon or bracket at some place by highlighting that area. A lot of IDEs are available such as DEVC++ or Code Blocks but we are going to use VS Code for this tutorial series.
Compiler:
A compiler is used to run the program of a certain language by converting the code into the language that our computer could understand. Without a compiler we can not run our code. Every programming language is required a different compiler for its functioning because the syntax of every language is different from the other. There are a lot of compilers available, but we are going to use MinGW for this course because it will fulfill all of our requirements and also it is recommended by Microsoft itself.
VS Code Installation:
Let’s start the installation process. First, we are going to see the installation of VS Code. For that search "VS Code download" on google or directly visit the URL:
https://code.visualstudio.com/download
This will open this page:
Click on the download option.
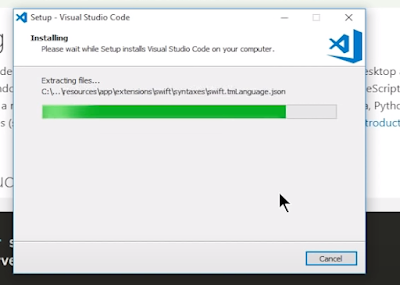
After the download is completed, open the setup and run it by saving VS Code in the default location without changing any settings at all. Just click the next button again and again until the installation process begins.
After the installation process is completed, run VS code.
It will look something like this.
MinGW Installation:
Now it is time for the installation of compiler. For that search google for: C programming in VS Code or directly visit the URL: https://code.visualstudio.com/docs/languages/cpp
This website will open up:
Now you have to select C++ from the side bar.
- Then go to the properties of “This Pc”.
- Select “Advance System Settings”
- Select the “Environment Variable” option.
- Add the copied path to Environment variable
#include

int main()
{
    printf("Hello World\n");
    return 0;
}


